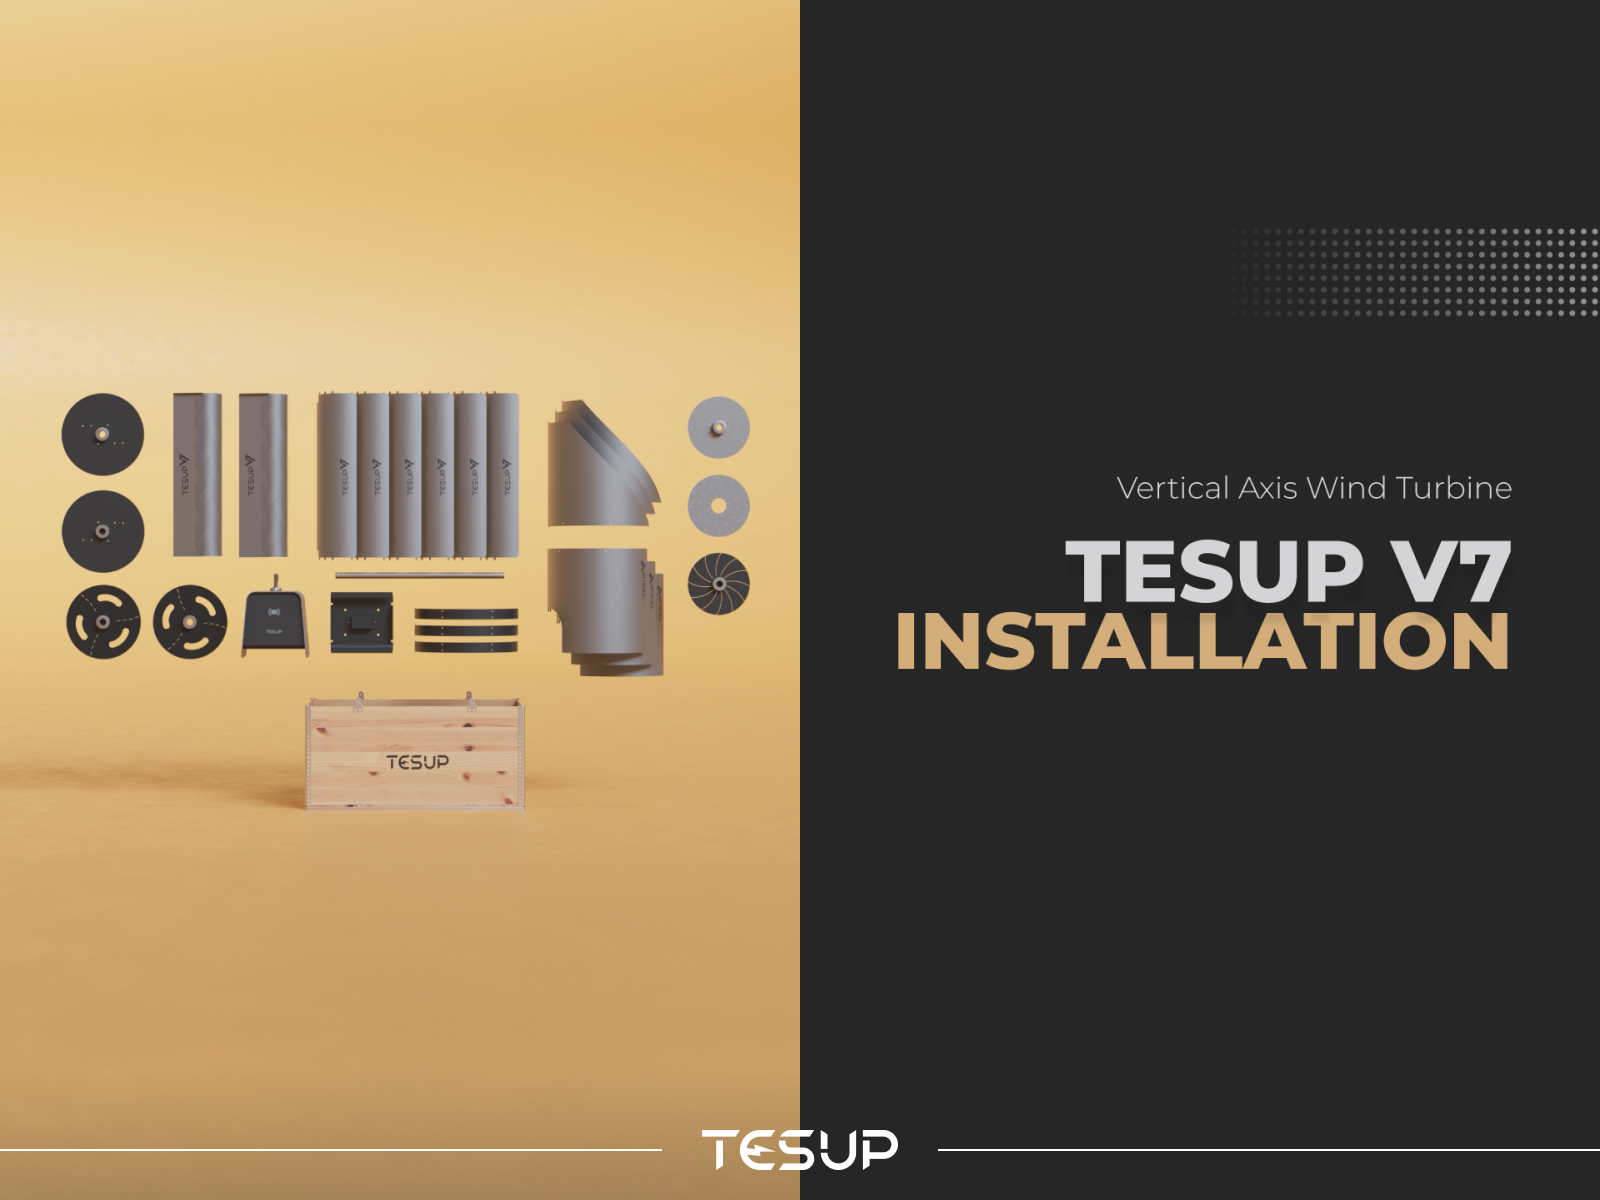
Ever wondered how long it takes to install wind turbines? Embark on a quick 15-minute installation adventure with TESUP and witness the efficiency firsthand! Today, we’ll guide you through the installation process of the ultimate wind turbine, the “TESUP V7 Vertical Wind Turbine”. From its robust power generation capacity to its superior quality at an unbeatable price, V7 wind turbine promises an exceptional user experience. You will learn about the unboxing and assembly process of the V7 as we provide you key insights, tips, and reference links to installation videos for a seamless setup.
- Power Generation Capacity:
The V7 wind turbine boasts a strong power generation capacity, making it an ideal choice not only for tech enthusiasts but also for all homeowners. With advanced technology ensuring efficient performance, it delivers more than enough power for the entire house.
- Latest Technology and Innovative Design:
As you unbox the V7, you’ll immediately notice its sleek and modern design. The product incorporates the latest technology, showcasing innovation in both form and function. The design not only enhances aesthetics but also contributes to the wind turbine’s efficiency.
- Superior Quality at the Best Possible Price:
V7 is the proof of our uncompromised quality at an affordable price point. Users can enjoy top-tier performance without breaking the bank, making V7 an attractive choice for those seeking value for their investment.
- 15 Mins Quick Self-Assembly:
We take pride in The V7’s user-friendly assembly process. With clear instructions and intuitive design, assembling the product takes just 15 minutes. For further assistance, check out our detailed installation video from here.
- Key Assembly Steps/Tips:
- First begin by delicately unpacking the components, ensuring no damage occurs during the process. After confirming the shipment's completeness, carefully remove all components from their packaging.
- Attach the turbine body securely to its designated location. Confirm the mounting base is firmly affixed to the mounting surface and undergoes a thorough stability check. Refer to the mounting details [insert hyperlink] for additional guidance.
- Connect the bottom bracelet to the bottom flange, considering the hole positions and the orientation for blade installation.
- Attach the top bracelet to the guiding frame, paying attention to hole locations and blade installation direction.
- Mount the bottom flange onto the shaft.
- Securely attach the guiding frame to the shaft.
- Introduce the turbine blades into the specified housings on the bottom flange through the guiding frame.
- Insert the snaps on the blades through the designated housings on the bottom flange.
- Place the top flange, ensuring all snaps successfully pass through the housings on the top flange.
- Gently bend all the top snaps on the blades using a mallet.
- Invert the upper body, holding it from both top and bottom flanges, and carefully position it on a flat surface with the top flange facing down.
- Delicately bend all the bottom snaps on the blades using a mallet.
- Flip the upper body, ensuring the top flange is facing upward again. Insert the shaft onto the rotor shaft.
- Securely fix the upper body to the base using the provided grub screws.
- If the system includes a battery (for off-grid connections), manually adjust the maximum voltage value through either the "Manage My TESUP" section in the My TESUP App or using the rotary encoder on the body.
The unboxing and assembly process of the V7 product opens a window to the realm of powerful, innovative, and budget-friendly technology. With our expert guidance and comprehensive installation videos, you can effortlessly set up your devices and start experiencing the unmatched capabilities of the V7 wind turbine.
