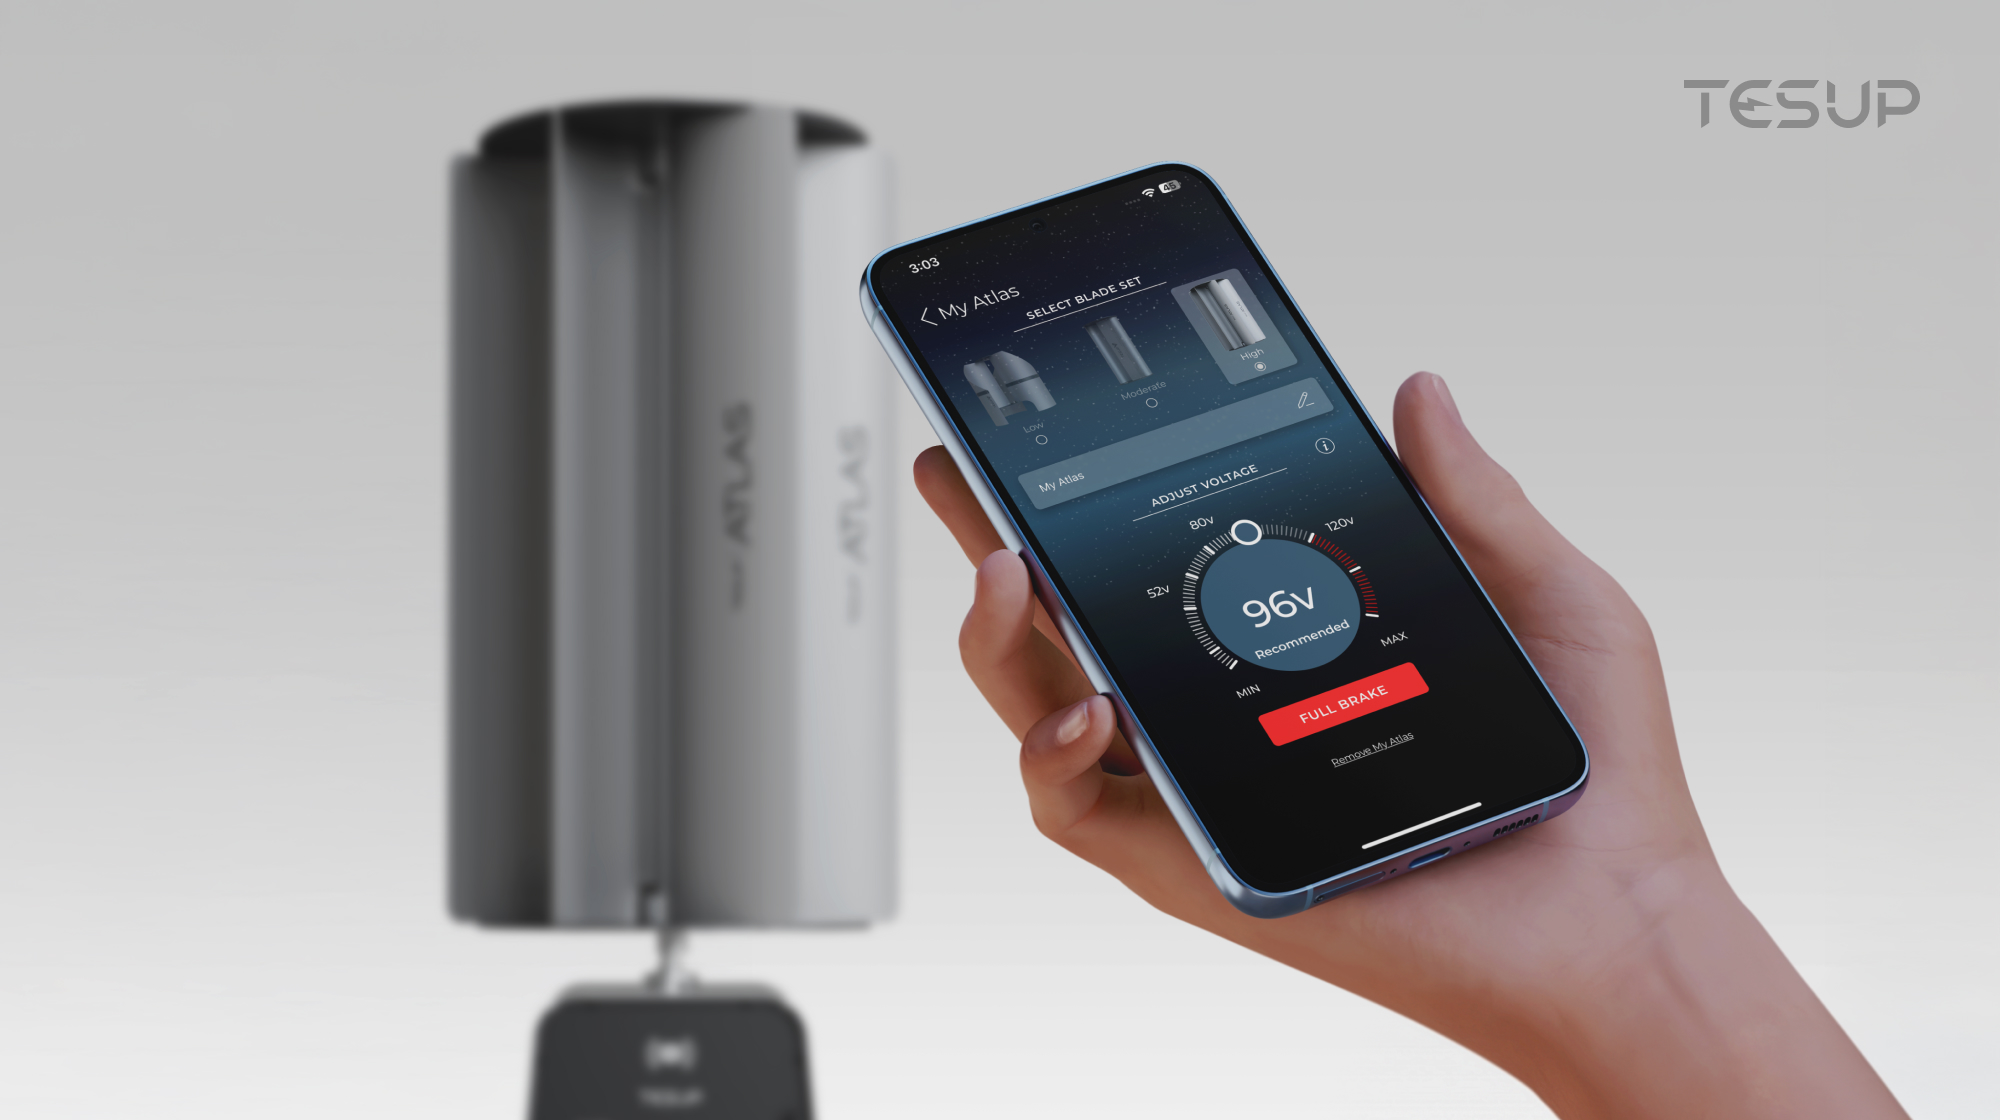
How to Set Up the myTESUP App for Your TESUP Device
Setting up your TESUP device with the myTESUP app is quick and easy! Follow the steps below to get connected and start monitoring your renewable energy system from anywhere.
Step-by-Step Guide:
1. Download the myTESUP App
- Go to the App Store (iOS) or Google Play Store (Android).
- Search for "myTESUP".
- Download and install the app on your smartphone or tablet.
2. Create Your Account
- Open the app and tap "Sign Up".
- Enter your email address and create a secure password.
- Confirm your registration via the verification link sent to your email.
3. Login & Add Your Device
- After confirming your email, open the app and log in.
- Tap “+ Add Device”.
- Make sure your TESUP device is powered on and the Wi-Fi module is active (usually with a blinking light).
4. Connect to Wi-Fi
- Choose your device from the list when it appears.
- Select your home Wi-Fi network and enter the password.
- Wait a few seconds for the app to sync with your TESUP device.
5. Name and Customize
- Once connected, you can name your device (e.g., “Atlas Wind” or “Home Solar”).
- Customize settings as needed – including notifications, location, and more.
6. Monitor and Control
- You’re now connected! From the main dashboard, you can:
- Monitor real-time energy generation.
- Track performance history.
- Adjust settings and preferences.
- Get alerts and insights based on your local weather.
If you encounter any issues, you can generate a support ticket via your TESUP account page. Our local support teams will be notified and ready to assist you!
myTESUP brings your clean energy system to your fingertips. Enjoy smarter, more connected energy management today.
Learn more about TESUP IoT technology: https://tesup.com/row/iot
