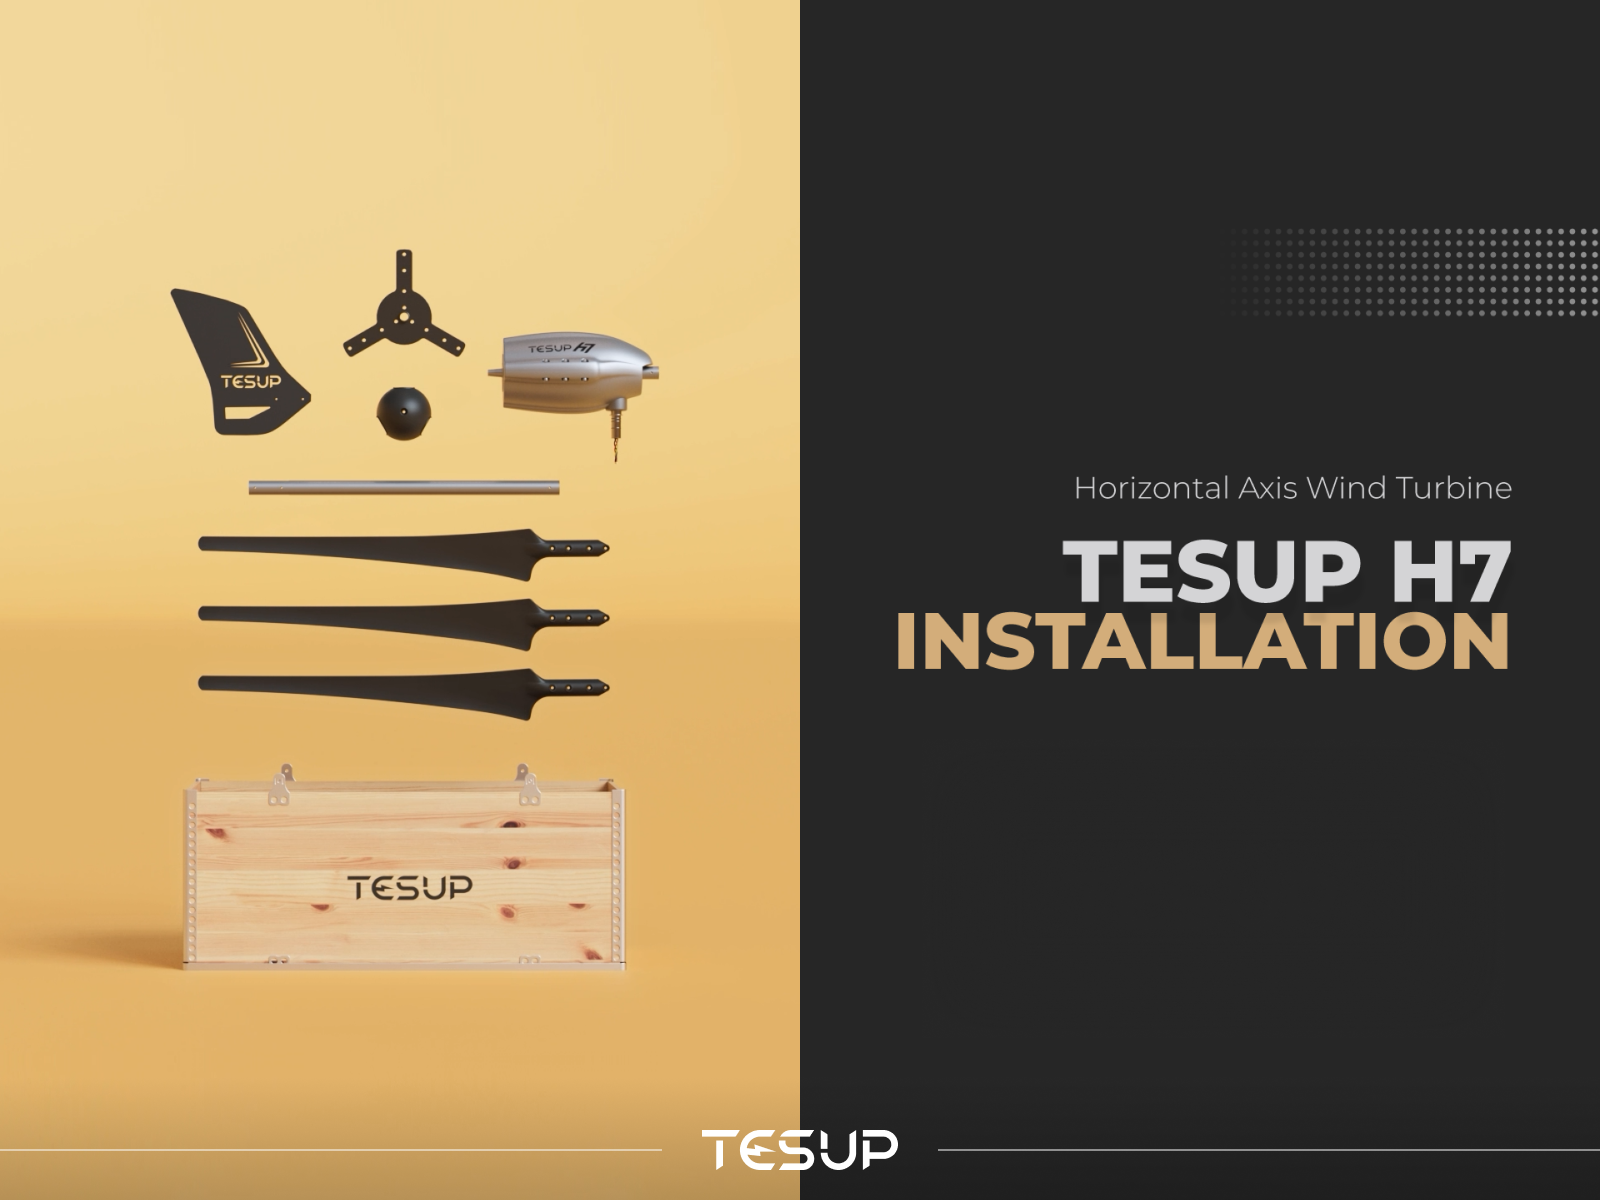
In recent blogs we mentioned installations and unboxing tips for V7 vertical wind turbines and we believe it was really helpful for you dear readers. In today’s comprehensive guide, we’ll walk you through the unboxing and assembly process of the H7 horizontal wind turbine, highlighting its robust power generation, innovative design, superior quality and affordability. Get ready to harness the power of wind seamlessly with key insights, tips and reference links to installation videos for a smooth setup.
- Power Generation:
The H7 takes wind energy to new heights with its remarkable power generation capacity. Designed for demanding tasks and residential use, the H7 horizontal wind turbine delivers high performance capabilities, making it a powerhouse in the renewable energy world.
- Latest Technology and Innovative H7 Design:
Open the H7 box to reveal a harmonious relation of technology and design. Its sleek and modern appearance is complemented by advanced features that showcase a commitment to staying at the forefront of horizontal wind turbine advancements, both in terms of aesthetics and functionality.
- Quality Beyond Price:
Discover a rare fusion of superior quality and affordability with the H7 wind turbine. Elevate your renewable energy experience without stretching your budget. The H7 stands as the best horizontal wind turbine ever, offering top-tier quality at a price point that makes sustainable living accessible to all.
- 40-Minute Assembly:
While the H7 assembly might take around 40 minutes, rest assured it is a user-friendly process. Our step-by-step instructions simplify the process, ensuring a smooth assembly experience. For visual guidance you can watch our detailed installation video here.
- Installation Guideline for TESUP H7 Wind Turbine:
- Foundation Selection:
Make sure the spot you've picked for the wind turbine can handle the weight. Customize the foundation size and structure based on the lay of the land.
- TESUP H7 Mounting Pole:
Before anything else, secure that mounting pole to your chosen spot and give it a good stability check.
- General Installation Steps:
Unpack everything carefully - we don't want any surprises! Follow the instructions for getting that mounting pole in place. Take your time here.
- Cabling:
Hook up the cable linking the turbine and the charge controller to the 3-phase AC output cables. Safety first – make sure those connections are well-insulated.
- Cable Routing:
Thread those extra cables through the mounting pole and pull them out the other side.
- Placing the Wind Turbine:
Now, gently position the TESUP H7 wind turbine on the mounting pole after threading the cables through. Tighten those screws on the mast like a pro.
- Tail Pole Assembly:
Slide that tail pole into its spot and attach it to the generator. Pop the tail plate in place and give it a good, tight fastening.
- Blade Installation:
-
Generator Connection:
- Nose Installation:
- Electrical Connections:
Connect the 3-phase AC output terminals at the turbine output to the charge control unit with the battery-inverter input. Screw it all down tight.
- Charge Control Tune-Up:
If you're using the charge control unit in 'Battery' mode, tweak the maximum voltage with that potentiometer on the unit. It's all about system protection and setting up the automatic braking system at certain wind speeds.
In closing, the H7 Wind Turbine's impressive power generation, sleek design, and affordability make it a leading force in the world of horizontal wind turbines. We trust that this detailed unboxing and assembly guide has shed light on the H7's capabilities and made the installation process clearer for you.
Join us on this journey towards a cleaner tomorrow! For a more immersive experience, dive into our detailed installation video. Explore our website for the latest updates, let's work together to harness the wind's power and pave the way for a greener and brighter future. Welcome to a world powered by sustainable wind energy!
